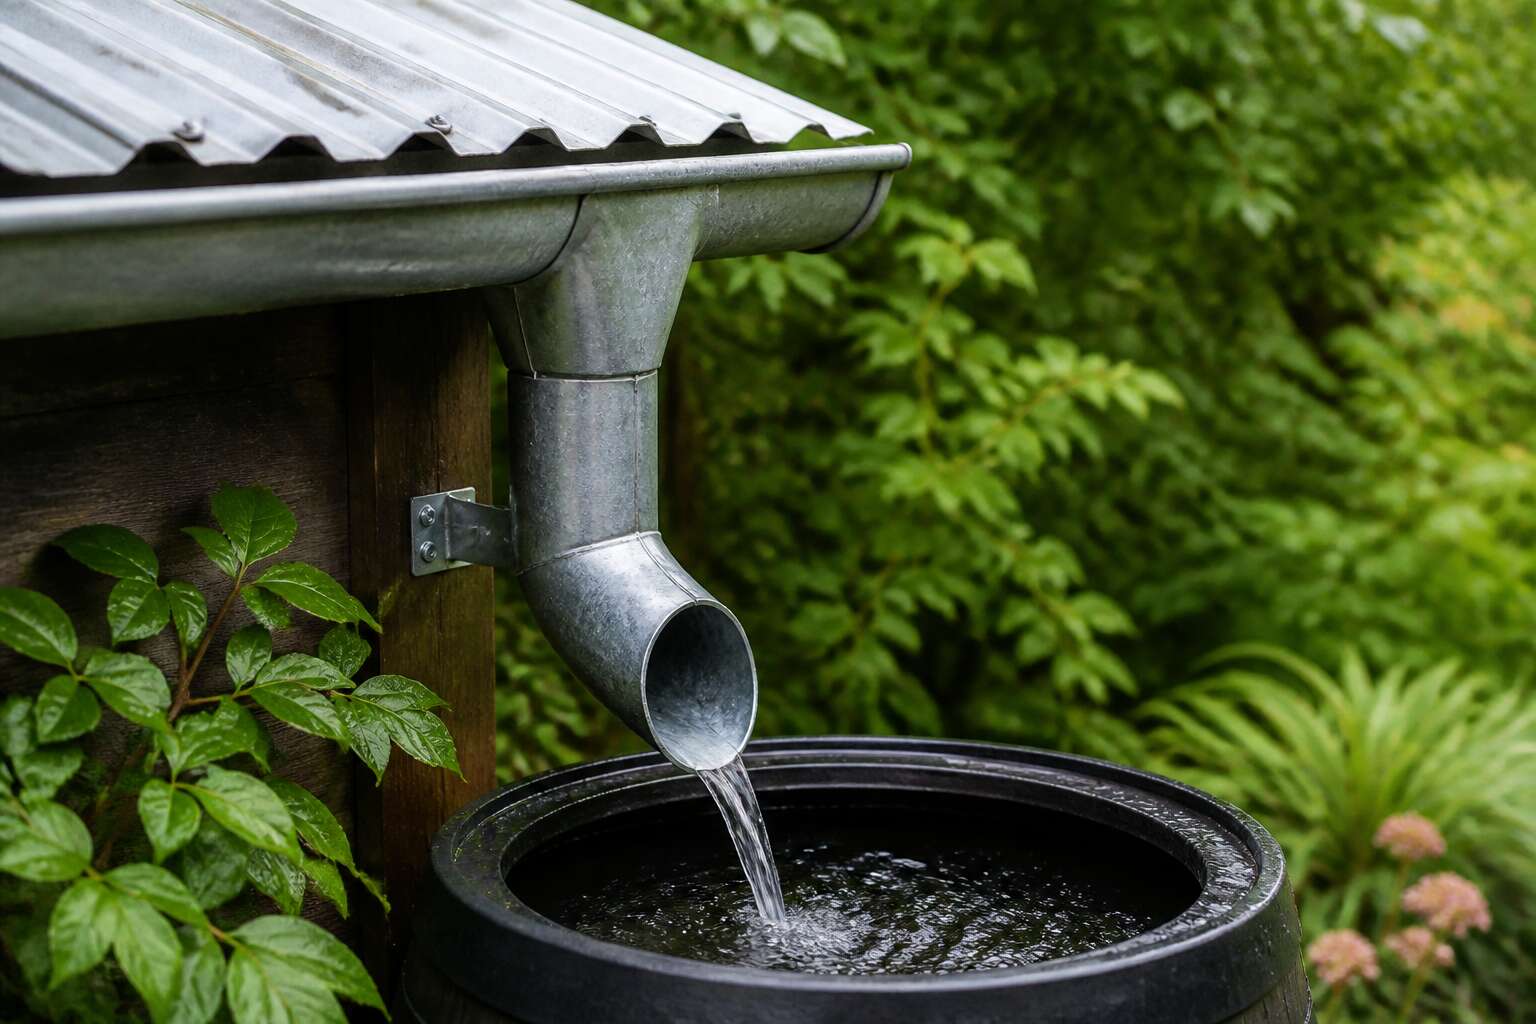
Essentials of Metal Roof Water Management
Why Roof Sheet Catchment Matters
Rainfall in South Africa arrives in unpredictable patterns, which makes every drop that slides off a metal roof a resource worth protecting. The roof sheet water pipe system only works when the catchment surface above it functions with precision. I have inspected homes where a perfectly installed pipe emptied onto bare soil because the gutter sat too high to collect the runoff.
Essentials of metal roof water management start with the roof sheet’s angle and seam placement. Corrugated profiles create natural channels, but any interruption from fasteners or overlaps directs water sideways instead of downward. This is not a cosmetic issue. A single misaligned sheet can send half a storm’s worth of water away from the pipe inlet.
The catchment area also demands honest measurement. Square footage alone tells you little if part of that surface is shaded or protected by parapets! In South Africa, summer downpours test every weak point. You must understand how water moves across your specific roof before you can trust any pipe to carry it away.
Calculating Flow Capacity for Your Roof Area
Rain performs a quiet arithmetic on every metal roof, yet few pause to consider the sums. The roof sheet water pipe system is the final answer to a calculation that begins with the very first drop striking the corrugations. I have watched a modest 30 square meter roof outsmart a poorly designed gutter simply because the water obeyed the path of least resistance.
Essentials of metal roof water management depend on understanding the roof’s pitch and the profile’s depth. A steep pitch accelerates water, while a shallow angle invites debris to settle and form dams. The corrugation spacing dictates how much water each channel carries, and this determines whether your pipe inlet receives a steady stream or a desperate trickle.
- Measure the effective catchment area by multiplying the roof’s footprint by a factor derived from the pitch angle.
- Identify the critical rainfall intensity for your specific South African region, as summer storms vary dramatically between Cape Town and Durban.
Calculating flow capacity for your roof area demands more than a glance at the sky. I use the rational method, converting the catchment’s square meters into liters per second, then matching this against the pipe’s internal diameter. A 50mm downpipe handles a certain volume, but a 75mm pipe doubles your margin of safety. The difference between these figures often separates a dry foundation from a flooded one.
The equation feels abstract until the first thunderstorm arrives. I recall a property in Johannesburg where the calculations predicted a gentle overflow, yet the actual downpour exceeded expectations by 30 percent. The roof sheet water pipe system performed adequately, but only because the designer had built in extra capacity. Nature rarely respects theoretical limits, so let your numbers breathe.
Selecting Downpipe Materials and Components
Sealing and Connector Options
In the hush before a Highveld storm, the true character of a downpipe reveals itself. I have watched galvanised steel surrender to rust while PVC stands defiant under the African sun. The roof sheet water pipe demands respect, not guesswork.
Choose materials that answer your climate. For coastal corrosion, PVC or marine-grade aluminium. For hailstones, a thicker gauge steel. Sealing compounds must flex with thermal expansion; polyurethane sealants outperform cheap silicone in these latitudes.
- Press-fit connectors survive vibration better than glued joints.
- Solvent weld offers permanence, but only if you clean every surface.
- Rubber gaskets fail quietly, so inspect them during each rainy season.
I prefer compression fittings for their forgiveness. A roof sheet water pipe that cannot breathe will crack long before you notice the leak.
Colour Matching and Aesthetic Considerations
The visual mass of a roof sheet water pipe can alter the entire street facade. I have seen a 100 millimetre PVC downpipe disappear against a dark grey wall in Johannesburg, while the same pipe becomes the dominant vertical line on a white plastered one! Material choice begins with the shadow you want to cast.
These three aspects rarely survive first inspection:
- The lip depth where the pipe meets the gutter outlet, which must match your roof sheet profile.
- The bracket tongue angle, which dictates how far the pipe stands off the wall.
- The swage alignment at each coupling, as subtle mismatches show up as kinks in the run.
Colour matching a roof sheet water pipe demands a sample cut from the actual batch, not the manufacturer’s swatch. Paint codes vary between coating plants, and the mica glint in a stone-coated profile can distort the tone of a painted downpipe.
Compatibility with Corrugated Roof Profiles
In South Africa, the sun and the storm season test every component of a building. A roof sheet water pipe must bear the thermal expansion of a metal roof, the weight of a sudden downpour, and the constant UV exposure. I have seen a well-installed roof sheet water pipe fail simply because the material was not suited to the corrugation profile it served. The interaction between the pipe and the roof sheet is not a mere junction; it is a physical negotiation.
The first decision is the material of the downpipe itself. PVC is common, but it expands noticeably under heat, which can stress brackets on a long run. Galvanised steel offers strength and a tight fit with corrugated profiles, but it requires careful handling to prevent scratches that lead to rust. Aluminium is light and corrosion resistant, yet it is softer and can dent during installation or when struck by hail.
Compatibility with the corrugated profile depends on three specific components:
– The pipe adapter that bridges the corrugation and the downpipe.
– The fixing bracket, which must accommodate the profile’s rise and fall without crushing the sheet.
– The sealant used at the point where the pipe meets the roof, which must remain flexible.
A roof sheet water pipe must not distort the roof profile at the point of connection. I once observed a site where a heavy steel bracket was bolted directly onto a slender corrugation, warping the metal. The roof sheet water pipe sagged, and the gap under the bracket became a permanent leak path. The correct approach is to use a bracket that spans the corrugation’s low point and sits on a block, distributing the load evenly.
The internal diameter of the pipe is equally critical. A pipe that is too narrow for the catchment will churn and gurgle under pressure, creating a vacuum that can pull water back up past the gutter edge. A wider roof sheet water pipe, one that matches the flow capacity of the gutter, allows the water to run clear and quiet. The material of the pipe dictates how this flow sounds, as metal resonates more than PVC.
Finally, consider the joining method. Solvent weld joints on PVC are permanent, but they require clean, dry surfaces to hold. Riveted metal pipes offer a mechanical connection that can be disassembled, but each rivet is a potential corrosion point. The choice here determines how easily the system can be maintained in the years to come. A thoughtful selection of materials and components ensures the roof sheet water pipe does not fail silently during the first heavy thunderstorm, but instead performs its duty without drama or distress.
Step-by-Step Installation Guide
Cutting and Trimming Sheets for Fit
Roughly half of all catchment system faults begin with a poorly trimmed sheet. The roof sheet water pipe relies on every edge meeting its neighbour without gaps, because water finds the smallest error and returns to it season after season. Use a nibbler or angle grinder with a thin cutting disc, marking your line in chalk.
- Measure twice, accounting for rib depth before you mark.
- Let the tool follow the line, never force it.
- File away burrs before fitting the sheet.
Trim from the bottom edge upward to avoid lifting the profile. Shears leave a sharper edge than a grinder, which is safer for your hands and for the protective coating. A clean cut keeps the entire catchment system airtight and durable, saving you from remedial work in the highveld rains.
Fixing Brackets and Clips Securely
Few things undermine a roof sheet water pipe faster than a bracket fixed with hope rather than torque. A loose clip turns a clean installation into a noisy, leaking frustration. I have watched good piping fail because someone rushed the fixing stage.
The sequence matters as much as the tools. Here is the order I trust:
- Mark each bracket position on the purlin centre, checking the line against the sheet profile.
- Pre-drill with a bit one size smaller than the screw shank, avoiding the ribs.
- Fit the clip, ensuring the neoprene washer sits flat before driving the screw.
- Tighten each fastener in three passes, allowing the rubber to settle.
Fasteners should bite into steel, not merely scratch it. Bracket spacing on a roof sheet water pipe should follow the manufacturer’s span table, not habit. A secure clip means the next sheet can be laid without fighting the previous one.
Sealing Joints for Leak Prevention
Water tests every joint on a roof sheet water pipe during the first heavy downpour after installation. A seal that looked neat in the workshop will fail if the surfaces were not clean or the collar was not tightened evenly.
Prepare both mating faces before you apply anything. Wipe off dust and mill oil with a solvent-dampened rag. Sealant will not bond to a dirty surface. Run the bead in one continuous line, then fit the parts in sequence:
1. Seat the gasket into its groove.
2. Push the pipe home with a slow twist.
3. Tighten the collar one flat at a time.
Inspect the joint from underneath with a torch before you close the ceiling. That is the last chance you get to catch a leak on your roof sheet water pipe without cutting open a finished wall.
Maintenance and Troubleshooting
Identifying Leaks and Corrosion
Eight hundred litres per hour can vanish through a crack that is virtually invisible. That is a startling statistic for anyone relying on this catchment system. Maintenance demands routine inspection. Corrosion often begins where the pipe touches the roof, hidden beneath the bracket. Look for orange streaking or white mineral deposits after a dry spell. These are early signs of galvanic reaction.
When a leak appears, trace it upstream. Water moves along the underside, so the visible drip seldom matches the true entry point. Check these areas first:
- Bends and elbows subject to stress
- Joint seams where sealant has aged
- Fastener holes that have enlarged
Scrape away loose scale with a wire brush, then apply cold galvanising compound. A roof sheet water pipe rewards those who catch failures early.
Winterising Against Freeze Damage
Frozen water exerts more than 130 times atmospheric pressure as it expands. That force splits galvanised steel and shatters PVC. On the South African highveld, where July nights routinely drop below zero, a roof sheet water pipe filled with standing water becomes a liability the moment temperatures fall.
The underlying issue is drainage. Vertical sections empty themselves, yet horizontal runs with inadequate fall hold water overnight. That water freezes and expands along the weakest seam. I have seen more winter failures traced to a missing drain point than to any other cause.
Interior provinces face a hierarchy of risks:
- Standing water in horizontal runs freezes first.
- PVC fittings become brittle and crack before steel pipes give way.
- South facing slopes thaw slowly, prolonging the freeze window.
A roof sheet water pipe that drains completely will never burst, regardless of how low the temperature drops.
Repair or Replace: Making the Right Call
A roof sheet water pipe usually fails without warning. A pinhole leak from a worn gasket is a straightforward repair. Localised patching resolves the issue completely. Widespread corrosion, however, is a structural verdict. When the metal has thinned or the pipe shows multiple fractures, a repair simply postpones the inevitable. You end up paying twice.
I use these thresholds when making the call:
- Repair when damage is limited to a single fitting or a small section.
- Replace when the pipe exhibits extensive thinning, surface spalling, or has exceeded its 20 year design life.
- Replace if repeated repairs have created new stress risers along the barrel.
The cost of water damage to the underlying insulation and roof sheeting always outstrips the cost of replacement. Treat the roof sheet water pipe as one continuous network. Compromise in one section reduces the resilience of the entire system. This is particularly true on highveld installations where thermal cycling puts constant stress on the material. The physical evidence dictates the choice, not the convenience of access.
Enhancing Performance with Smart Additions
Rainwater Harvesting Compatibility
In South Africa, a year of average rainfall can fill a 5000 litre tank from a modest roof. That promise depends on how well your roof sheet water pipe connects to the rest of the harvesting system. The smartest additions are those that respect the existing geometry of your gutters and downpipes.
For instance, a first flush diverter removes the dust and leaves that accumulate between storms. A fine mesh screen at the inlet keeps insects and tadpoles out of your tank. These small purchases prevent costly maintenance later.
- Overflow siphons protect your home’s foundation from saturation.
- A pressure reducer stops surge damage when the tank is full.
Compatibility is not a vague ideal. It means measuring your pipe diameter, slope, and connection types precisely. When the roof sheet water pipe aligns with these additions, the system operates without constant tinkering.
Gutter Guards and Leaf Screens
South African summers can deliver more than just sunshine. A sudden afternoon storm sends a torrent across your roof, and that surge of water carries with it a year of accumulated leaves, twigs, and windblown debris. Without intervention, a perfectly good roof sheet water pipe becomes a conduit for sludge. The water that reaches your tank looks less like a resource and more like a problem.
Gutter guards offer a quiet solution. They sit above the channel and keep the largest offenders out. A leaf screen works similarly, but with a finer mesh that stops even the smallest particles. Both reduce the frequency of your gutter cleaning routine, which is a task no one misses. More importantly, they protect the pipework from blockages that can cause overflow during heavy rain.
- Guards with a smooth surface allow water to slide over them without pooling, preserving the flow rate.
- Screens with a rigid frame resist sagging under the weight of wet debris.
- Look for UV-stabilised materials that withstand harsh African sunlight without becoming brittle.
The benefit extends beyond simple convenience. A clean gutter means the entire system works as designed. Water moves freely from the roof sheet water pipe into the downpipe and onward to your storage. This consistency protects the joints and seals from unnecessary pressure. In a country where days may pass between rainfall events, the first flush after a dry spell is often the dirtiest. A good guard ensures that first water is not the one that compromises your water quality. It is a small investment in the longevity of your harvest.
Heat Cables for Ice Dams
Ice dams are not a topic most South Africans lose sleep over. But for those who have installed a water harvesting setup at a higher altitude, or in a region that sees frost, the physics of a freeze thaw cycle can do strange things. When ice forms at the edge of a roof, it blocks the natural path of meltwater. That water backs up, freezes again, and the expansion works against your joints. A roof sheet water pipe system under this kind of pressure can split.
A heat cable, fitted along the eaves, changes the equation. It keeps a channel of water moving so the ice never forms a solid barrier. This is not about heating the whole roof sheet water pipe, which would be a waste of energy. It is about a targeted run of cable that prevents the blockage before it begins. The installation is straightforward, but the placement matters.
1. Run the cable in a zigzag pattern across the lower edge.
2. Ensure the cable extends into the downpipe for a short distance.
3. Use a clip system that does not penetrate the sheet.
The cost is modest. The alternative, a split pipe or a collapsed gutter, is a repair you will remember. If your region sees frost for even a few weeks each year, this addition removes a silent risk. Your downstream equipment and storage benefit from a consistent flow, and you avoid the headache of a blockage that happens entirely out of sight.



0 Comments